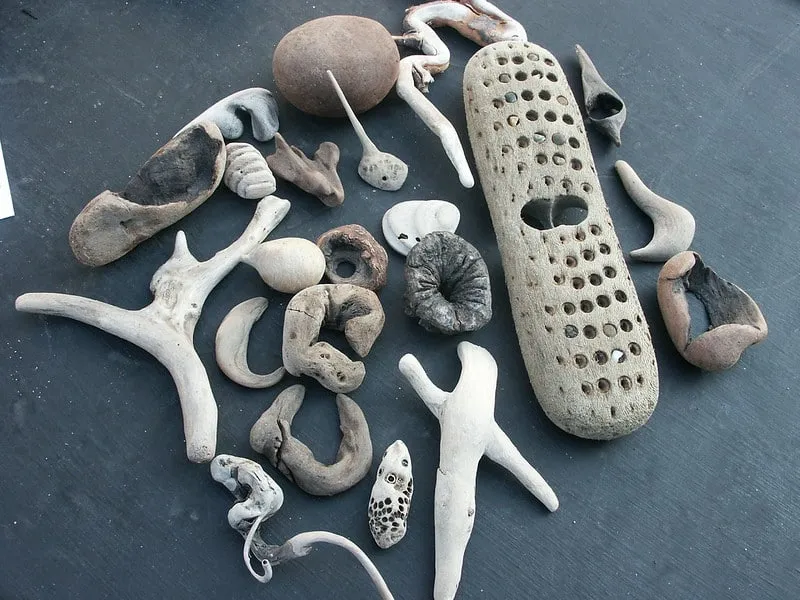
Driftwood is an elegant and beautiful wood that spends days or even years in the water before washing up on the shore. It looks great as a landscape addition and decoration for your home. Riverbanks and seashores have plenty of wood pieces that wash up along with rushing water.
Many artists and creative people paint these misshapen pieces of wood and give them a beautiful touch of creativity. It is used in many sculpting, woodwork, and painting activities. If you want to give it a try but don’t know how to paint driftwood, we are here to help.
What type of paint do I use on driftwood?
Acrylic paint is most commonly used to paint driftwood. Since it is more versatile, durable, and has low toxicity, acrylic paint is perfect for painting on driftwood. Another good point of using acrylic paint is that it dries quicker than other paint types and is also water-soluble. So if you feel like you don’t like what you painted, you can get it off the wood piece with the help of soap and water, rubbing alcohol or sandpaper, etc.
Here are other reasons why artists prefer working with acrylic paints:
- Easier to work with
- No need for turpentine or mineral spirits
- Can be mixed with water
- Not as expensive as other paints
- Easier to clean
- Suitable for any surface, including wood
- No harsh smells
Do I have to seal driftwood before I paint it?
Driftwood takes a while to be prepared for painting. Cleaning and bleaching the wood is enough. However, you can go an extra step to seal it in oil, resin, or varnish. It saves it from damage and decay. Here are some ways you can seal and preserve the wood:
Bleach water method
Most artists who paint on driftwood scrub each piece. After scrubbing, the wood piece is left in a solution made with bleach and water. This kills all bacteria, fungus, and bugs that could be living inside the wood.
While soaking, you might notice that the wood bobs, so it is better to place a weight on it to keep the wood pieces submerged in water. It is better to repeat the process for 5 days to completely remove all the bugs and insects from the wood.
Once the wood is cleaned, drain out the water and set out the pieces to dry.
Insecticide spray
The insecticide spray method to seal the driftwood before painting is to put the driftwood in a ziplock bag, spray insecticide spray to kill off any bugs, and leave the bag sealed for a few days.
Once it is done, let it dry out in the sun.
Make sure all the moisture has been sucked out before you start painting. To prep the surface to be painted, white or grey gesso can be used.
It prevents the paint from separating and keeps the pigment as is. Many artists also prefer to seal the piece with polyurethane once it is finished.
What type of equipment do I need to paint driftwood?
No matter how excited you are to start painting on driftwood, it is important to make sure that you have all the required tools and equipment. Take a look below to check that you have everything that will be needed to paint on driftwood.
- Scrubbing brush
- Sandpaper (Medium grade 180 to 240 grit)
- Liquid soap
- Bleach
- Water
- Acrylic paint
- Paintbrushes
- Clear spray varnish
Checked off everything on the list? Let’s start painting now.
How to paint driftwood
Now that you know whether you should seal the driftwood and what equipment you need let’s start painting. Follow these steps from start to finish and create a masterpiece.
1. Choose a piece
When choosing the piece of driftwood, make sure you choose one that is in good condition. Avoid rotten wood or the one that scrapes easily with fingernails. Try to look at the ones that have a unique shape that can add to your painting. Do not take the pieces of wood inside your house until they are cleaned.
2. Scrub it up
Wash off the wood with liquid soap and a scrubbing brush. Remember to wear gloves. Then follow the bleach water method to completely clean the piece. However, if you plan to put the piece in the aquarium, avoid using toxic chemicals. Once the wood is completely dried, move on to the next step.
3. Sand it down
Now that the wood is dried and cleaned, the next step is to sand the wood and remove extra dust.
4. Be creative and paint away.
Start painting and bring your ideas to life. Use paintbrushes and acrylic paint to put your idea onto the piece of wood. Paint with a free hand. Avoid using a pencil or pen to create an outline before painting since they can create grooves on the wood. Once you are done with the painting, let it dry for at least 24 hours.
5. Final touches
Once the paint is dried, cover it up with acrylic spray varnish. Let the first coat dry, and then go for the second coat. This coating prevents the paint from chipping off or peeling away.
At first, the process might seem daunting and too much work. But once you get the final product in your hands, you will be mesmerized. And if done regularly, you can become a pro at painting driftwood masterpieces. It will be hard to stop yourself from creating more driftwood paintings once you get the hang of it. It just needs some time and patience.
Conclusion
Driftwood can be a beautiful addition to your home decor, whether painted or not. But by putting out your creativity on the piece of wood, you can make it appear even more attractive. You can use it to decorate your house or put it in the aquarium for your pet fish. Now that you know how to seal driftwood and how to paint on it, you can start experimenting on your own.
