Driftwood is naturally pleasing and can be used for décor and display at home or outdoors. So, if you’re wondering how to seal and preserve driftwood and paint on it, you have come to the right place!
Before you can seal driftwood, you need to clean it to remove all residue by using sandpaper and then putting bleach to remove all bacteria. You can then paint it using acrylic paint. After that, use two-part epoxy resin to seal by pouring it over the surface from one side.
This article will look at how to clean and bleach your driftwood and then paint and seal it to preserve it so it can look fabulous for decades.
The Most Common Ways To Seal and Paint Driftwood
Driftwood already goes through a lot of abuse just to become what it is, so it is necessary that you clean and preserve this wood by bleaching and then sealing it. Preserving it will take some time and patience. Prior to sealing it, you first need to clean and bleach the driftwood to remove all bacteria and residue. After that, you can paint it and then seal it.
Clean Your Driftwood By Removing Weak Branches
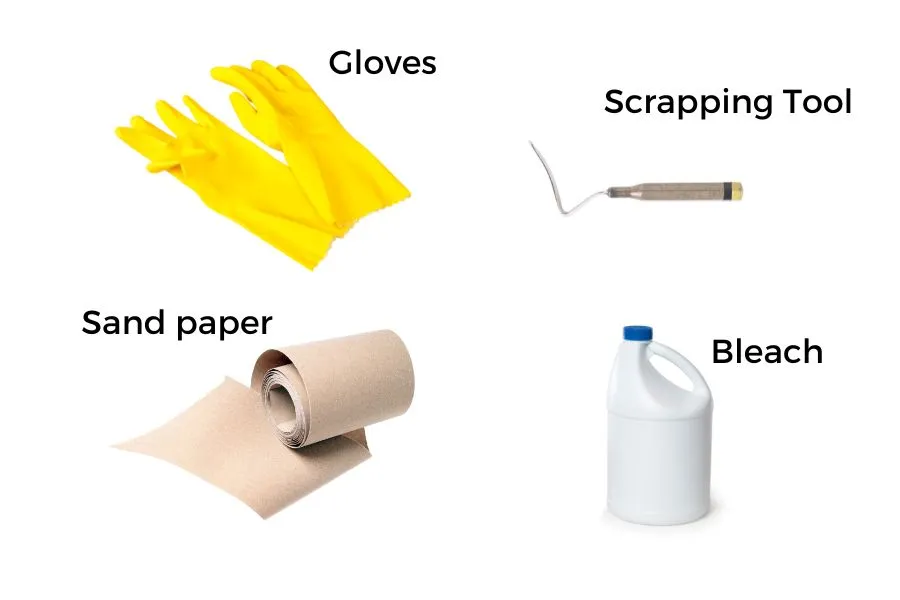
You will need the following:
- Gloves
- Scraping tool (optional)
One of the ways to preserve your driftwood is by cleaning and bleaching it. You will first want to eliminate any weak branches and cracked pieces. Then, you can remove it by hand, but remember to wear some gloves if you do so, so you do not hurt yourself. You can also use a scraping tool to remove the weak branches and cracked pieces.
Smooth Your Driftwood With Sandpaper
You will need the following:
- Compressed air
- Sandpaper or orbital sander
- Thick gloves
If you want to smooth the driftwood, you can do that by using sandpaper. While wearing thick gloves, sand the wood sandpaper with your hand or use an orbital sander. If you want a very smooth look, you must press the sandpaper hard on the wood.
To properly clean the driftwood, use a dry brush and air compressor to eliminate all dirt, sand, and residue. Remember to do this outdoors! The cleaner, the better since it will be easier to bleach the wood if it’s free from weak layers of wood and another residue. Use the air compressor to blow everything off.
Bleach The Driftwood
You will need the following:
- Bleach
- Water
- Plastic Container
- Gloves
Once you’ve cleaned the driftwood, find a plastic container to put the driftwood in. If you want to dye the driftwood completely white, throw in 9 parts of water and 1 part of bleach and gently place the driftwood in the container. If you want the original color to stick, use 1 cup of bleach for every 5 gallons of water. Bleaching is essential to kill all bacteria on driftwood.
You will want your driftwood to soak for around six hours in the open air. However, if you wish the driftwood to be white, you will have to leave it in until it changes white and replaces the bleach solution daily until you see the desired result. It might take about three days.

Place The Driftwood In The Sun
After removing the driftwood from the container, please place it in the sun and wait for one whole day before rinsing it with a hosepipe. To ensure the driftwood is completely dry, you will need to leave it out in the sun for at least 15 days after rinsing to ensure all the moisture dissipates.
Paint Your Driftwood
You will need the following:
- Paintbrush
- Acrylic craft paint
- Turpentine or beeswax (optional)
If you paint the driftwood, you can use a paintbrush and acrylic craft paint (this step is optional). After painting whatever you want, whether just small designs or big enough to cover the whole piece, leave it to dry for at least one full day.
To ensure the paint does not peel, use clear acrylic paint varnish and coat the driftwood. If you want to use driftwood as an art piece, seal it with turpentine or beeswax to preserve the wood.
Seal The Driftwood With Resin
You will need the following:
- Nitrile gloves
- Wood finish
- Two-part epoxy resin
- Brush (optional)
- Furniture old or liquid wood wax
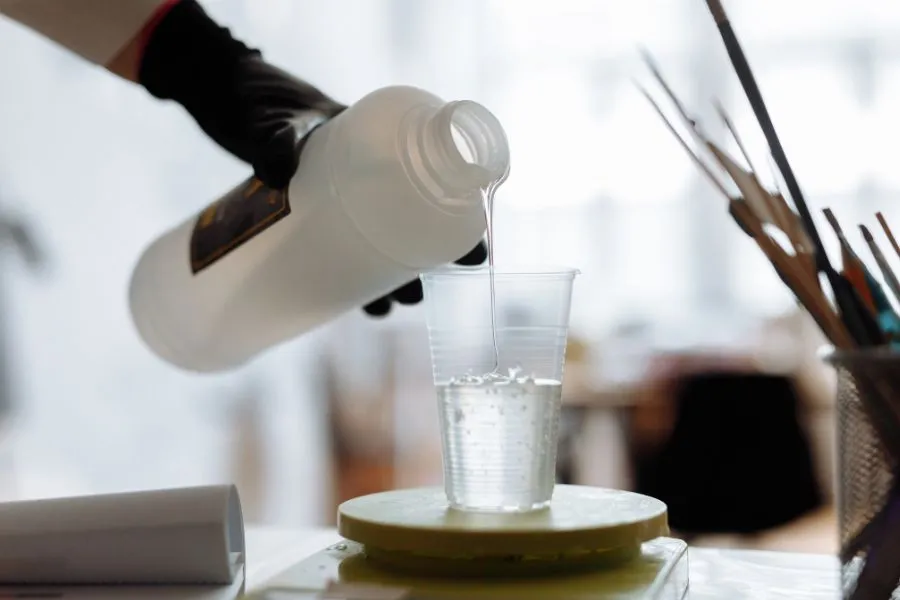
If you cleaned and bleached your driftwood and created a design, this is an extra step you can follow. You can seal the wood in epoxy resin to preserve it. When using epoxy resin, wear nitrile gloves to finish the wood. For a thick finish, use a two-part epoxy resin and mix it in a bowl. Start at one end and slowly start pouring the mixture over the driftwood.
You can use your hands, or you can use a brush to spread the resin to ensure it covers the whole piece of driftwood. You will then need to let it dry for at least three days. A thin layer will make your piece look natural, while thicker layers will make it look more plastic and reflective. Again, it depends on what your goal is.
After doing this, your driftwood piece should easily last for decades.
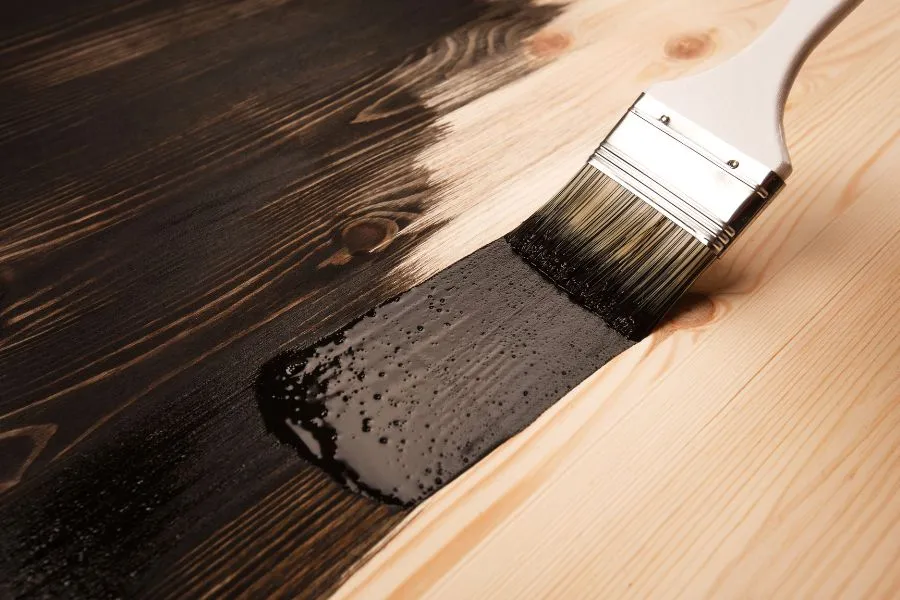
Use Varnish If You Don’t Want To Paint
If you did not use paint and would instead want to change the color of the wood, you can use wood varnish or stain. Varnish might be your best option since it has a slicker finish. You can apply two to three layers to the wood, waiting for it to dry between each layer.
Preserve With Furniture Oil Or Liquid Wood Wax
To preserve the driftwood’s look, you can use furniture oil or liquid wood wax and apply thin layers. Furniture oil will leave a thin layer, while liquid wood wax will harden the surface of the driftwood. You will need to let it dry for two to three days.
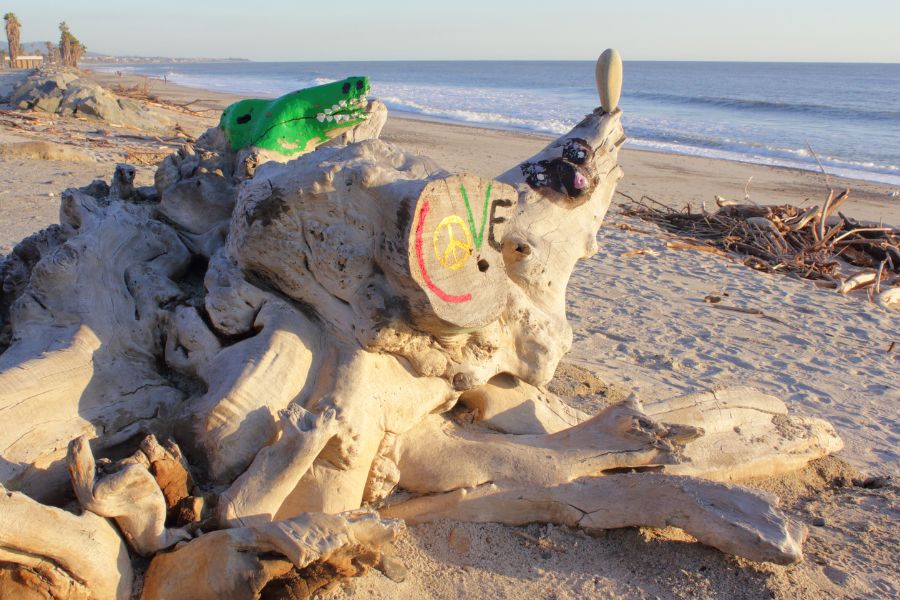
You can use it as a centerpiece or place it outdoors on the patio as décor. You can also use it to make furniture like dining tables, lamps, and shelves.
Conclusion
Before sealing driftwood, you first need to clean it by removing all the branches, using sandpaper to smooth it out, and then using an air compressor to blow it away. Next, bleach your driftwood, and then you can paint designs on it or do anything you want!
Finally, use epoxy resin to seal it so it can be preserved. You can also use wood varnish if you want to change the color of the wood.
