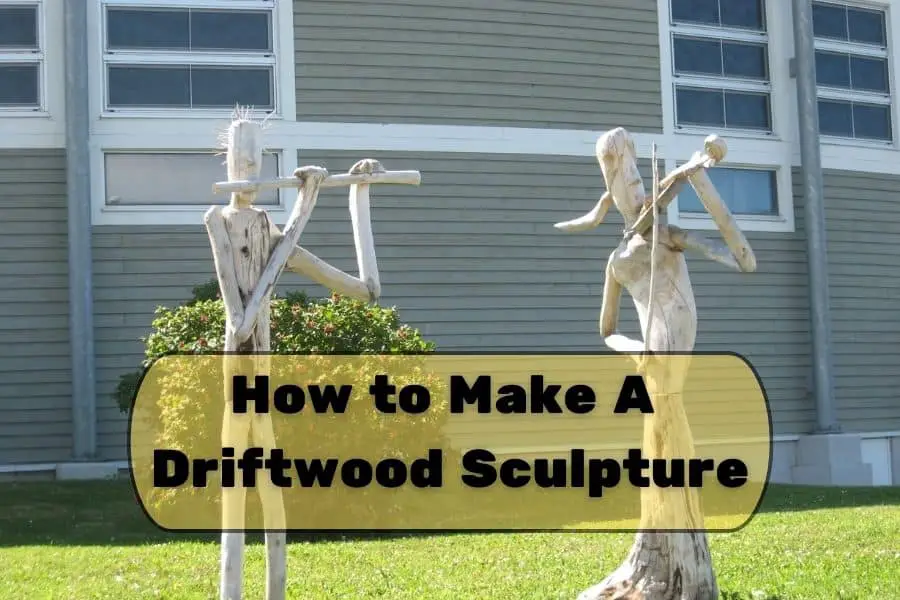
One of the best things about driftwood is that it can be turned into works of art. Considering that driftwood can be free and available naturally, this means you are free to experiment and see if you can produce the best sculptures to decorate your home. How to make driftwood sculptures?
We suggest to read the article “Finding Passion At 60 – Driftwood Artist Joe Treat“. He found his passion late in life and creates awesome sculptures.
To make a driftwood sculpture:
- Prepare The Materials
- Imagine The End Result
- Draw The Pattern
- Cut Out A Rough Shape
- Rasp, File, and Sand
- Prepare For Mounting
- Finishing
- Mounting And Securing The Sculpture
This article shows the step-by-step process of how you can make your own driftwood sculpture for any of your art projects.
Step 1: Prepare The Materials
As a start, understand that making a driftwood sculpture requires you to manipulate and alter the shape of a piece of driftwood, meaning you will need the right tools to do the job.
Fortunately, you do not need high-end tools and equipment. If your driftwood pieces are not big, you only require common hand tools that you can pick up at a local hardware store. You may even have some of these lying around your house.
The most expensive would be a scroll saw. It helps to simplify the sawing process. However, the machine may not be necessary if you work on a small driftwood piece. If you do not want to purchase a scroll saw, consider picking up a mini hacksaw instead.
As a start, prepare the following tools to ensure a smooth driftwood sculpting experience:
- Pencil
- Paper
- Drill
- Small Drill Bit
- Scroll Saw
- Files and Rasps
- Sandpaper
- Paintbrush
- Glue
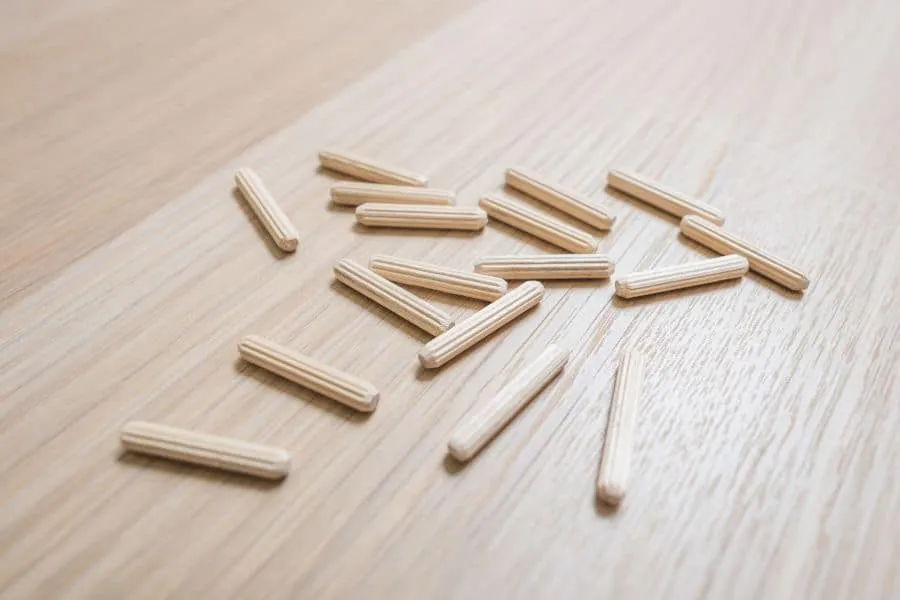
- ¼ inch wooden dowel rod
Another thing you want to consider is treating the driftwood. This ensures the driftwood is sterile and will no longer deteriorate or decay due to microorganisms and other nasties. This will require you to boil and soak your driftwood pieces in bleach solutions.
If you need instructions on how to treat your driftwood, feel free to check out our full guide.
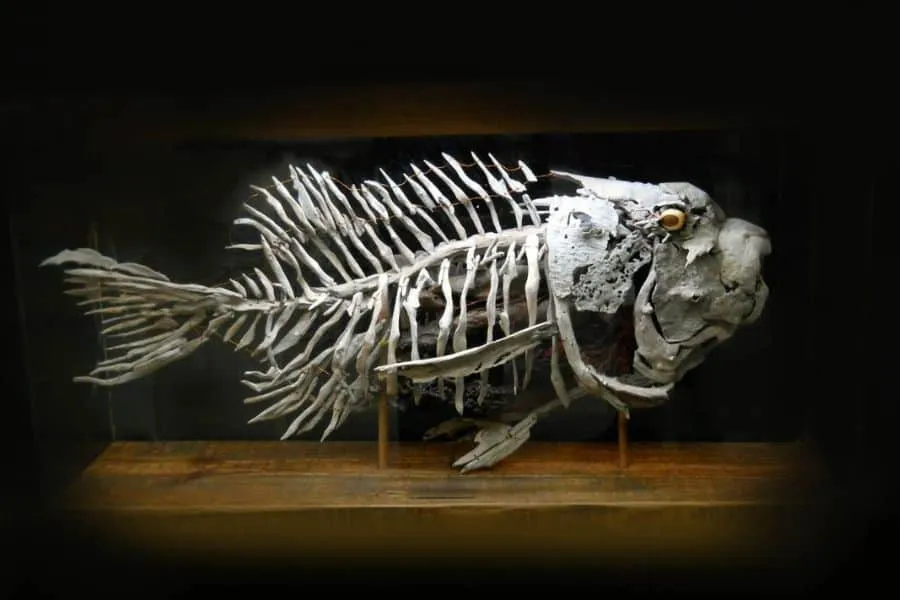
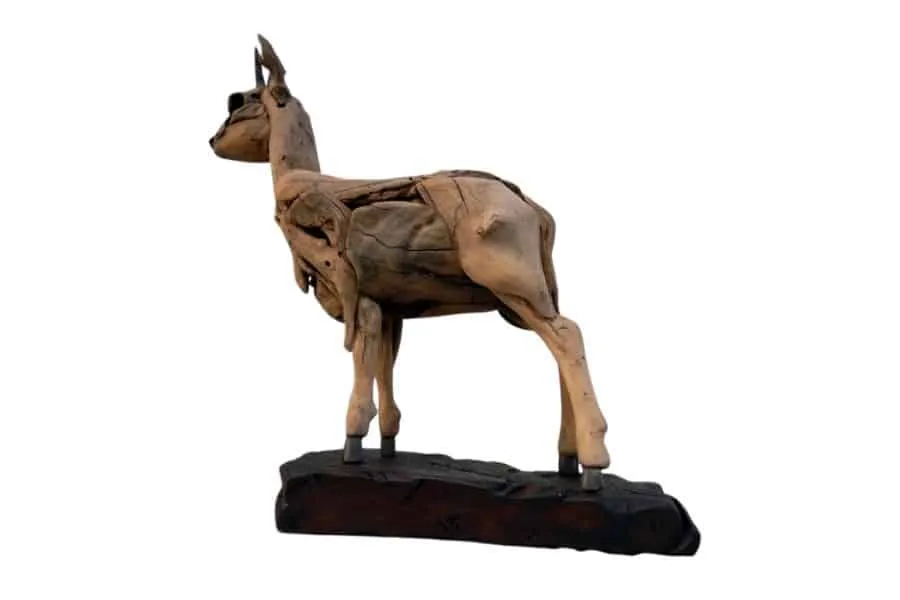
Step 2: Imagine The End Result
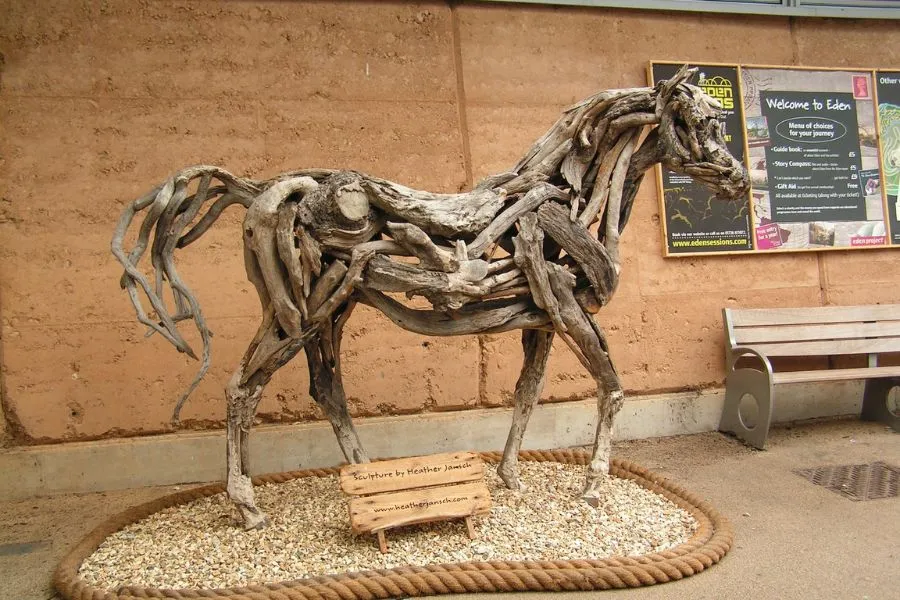
The next step in creating your driftwood sculpture is to look at the piece of driftwood you have in hand and what you can create from it. This may take experience, as not everything that you have imagined can be doable on the piece of driftwood you have in mind.
As a start, you may go to places such as Etsy or Pinterest to get ideas on what sculptures people make from their driftwood. A simple search team’ driftwood sculpture’ should be enough to load your screen with sculpture ideas.
You may be overwhelmed by the type of sculpture artists were about to make from driftwood. The key is to keep it simple, especially if this is your first project. As you improve, you will have the skills, experience, and eyes to imagine a larger, more complicated project.
Step 3: Draw The Pattern
The next step would be to draw out the pattern on a piece of paper. You do not need to go all out and draw with precision rulers like a machinist, but you must sketch out an outline well enough to give your project a proper outline.
As a start, prepare a piece of paper that fits the width and length of your driftwood piece. You may need to cut it out from a larger piece of paper or combine several smaller pieces to achieve this.
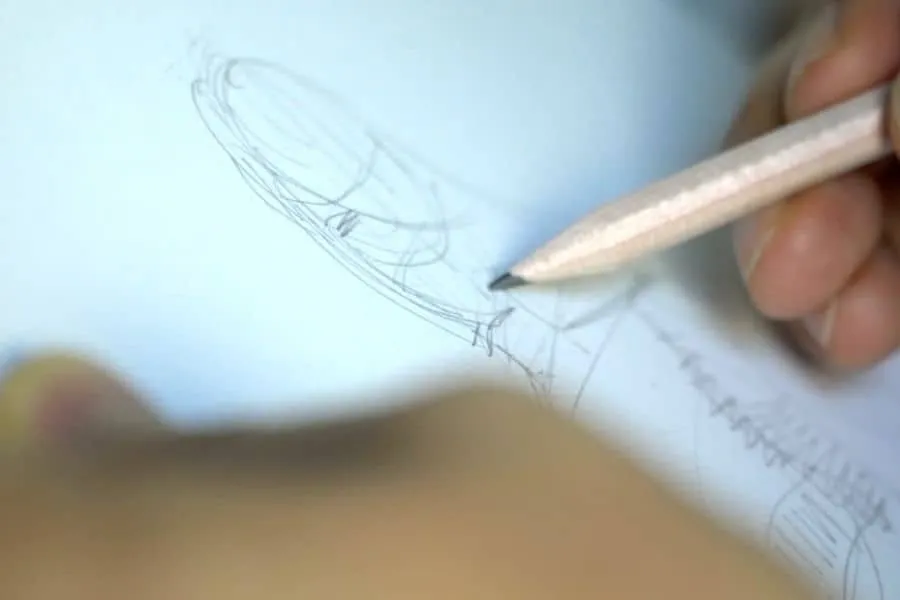
Using a pencil, draw out the outline of your project. As you draw, you may be drawn into drawing intricate designs that may be hard to replicate on your wood.
If you are new to driftwood sculpting, it may be prudent to keep the design simple so that you are not overwhelmed with the work later. Once you are done, you may proceed to the next step, cutting the wood.
Step 4: Cut Out A Rough Shape
In this step, you place your driftwood on top of the sketching paper. Then you transfer your sketch to your wood. Use a pencil to do this, and sketch out the outlines clearly.
Once you are done, you may not whip out your saw and start cutting away unwanted parts. If your driftwood piece is larger, you may need to use a scroll saw to do the work unless you do not mind the additional grind of manual sawing. If your wood piece is smaller, you can use a mini hacksaw.
When sawing your driftwood, the most important thing is to understand that you are working with driftwood. It is essentially a piece of dead wood that has decayed for a while. This means the wood may be more fragile than usual, so you want to be gentle when sawing.
Saw at a slower pace, and try not to put too much force into it, or else you may break the driftwood. You may have to restart the project with another piece of driftwood.
Step 5: Rasp, File and Sand
Once you have cut out the rough shape of the wood, now is the time to refine the work. Saws are an aggressive way to remove a lot of wood, but it lacks the precision that rasps, files, and sandpaper can bring.
As a start, use a rasp. It has the roughest surface, meaning you can remove the most wood using it. Once you have used rasp, switch to files, which may remove less wood, but allows you to be more precise in removing the wood.
Investing in some file and rasp sets may be a good idea, as, at times, you may need angled or rounded filers to achieve the right surface for your work.
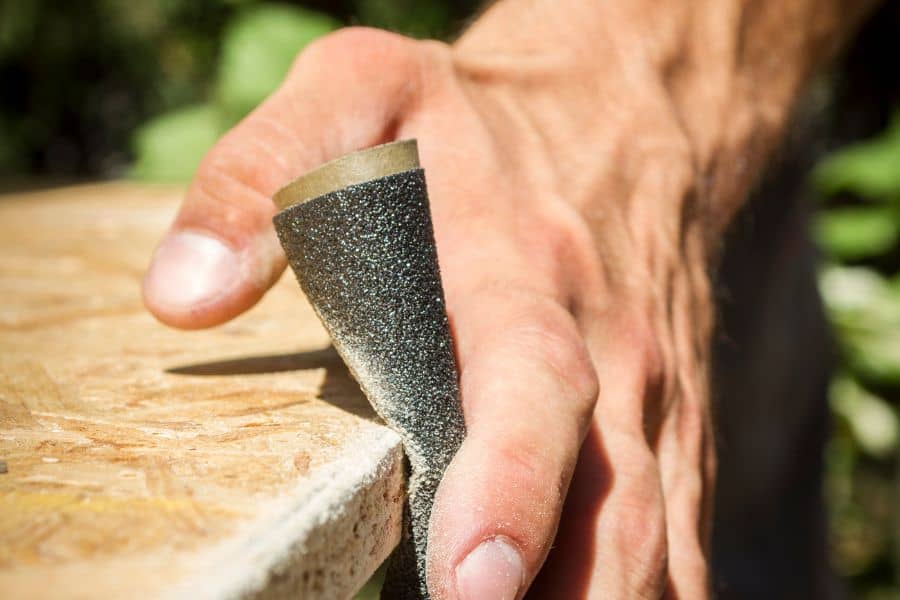
Finally, once you are done with filing, switch to using sandpaper to smoothen out your work. Start with rougher sandpaper before switching to finer grit sandpaper. To ensure a smoother finish, you may consider wet sanding at the finer stage.
Similar to when sawing, understand that driftwood can be a fragile and brittle piece of wood. As you work on it, ensure that you are not exerting too much force, or else you may break the wood.
As you file, sand, or rasp your work, be sure to use a brush regularly to clean the working surface. You can also use compressed air if you have one, although it may not be necessary.
Step 6: Prepare For Mounting
At this stage, your sculpture should have a fine shape and look and be close to perfection. The next stage is to think about how you will display the sculpture.
The most common practice here is to drill a hole into the driftwood, insert a wooden dowel rod, and then secure the other end of the dowel rod against a frame or a base, such as another piece of wood.
You can also use a metal base with a holder to hold onto the dowel, allowing your sculpture to stand on top of it, like a trophy.
To do so, start by deciding the mounting you plan to use. Let’s assume you intend to mount your sculpture to a wooden frame and hang it on the wall like a painting.
Then identify the side you will use as the back of the sculpture. You will drill holes on this side, leaving the front side clean. Next, choose two spots where you will drill holes.
At the minimum, you may need two holes to ensure the mounting is stable and sturdy. For larger projects, you may need more.
Next, with a drill, drill a hole into the driftwood at a slow speed. You do not need to drill through the wood, as you want the display side to appear clean without holes. Ensure the drillbit you use can fit the wood dowel well.
Clean the hole with a brush. Apply some glue to the hole, then put it in your wood dowel. Wipe off excess glue, and let it dry.
Now, place your sculpture on the base frame, and identify where you can drill holes for the other end of the wood dowel. Drill the holes, clean them, and then test mount the sculpture. Do not use glue, as you still need to finish your sculpture.
Step 7: Finishing
This step may be optional.
Depending on your preference, you may prefer a raw sculpture. You may also prefer some natural finishing. In this case, you can apply some tung or linseed oil to finish the wood. If you prefer to paint the wood, you can also do so.
Once you have applied your desired finishing, you may let it dry before proceeding to the next step.
Step 8: Mounting And Securing The Sculpture
With the sculpture finished, and the mounting ready, it’s time to assemble the base frame and your sculpture. Since you have test-mounted them before, they should fit like a glove.
Fill the hole on the base frame side with glue, and push the wood dowel on the sculpture side. Wipe off any excess glue, and wait for it to try.
And your sculpture is done! Enjoy your hard work, hang it where people may notice it, and use it as a way to start a conversation about driftwood collecting and art.
